
When a computer’s memory stumbles, the Windows Memory Diagnostic tool becomes a digital stethoscope pressed against the motherboard’s circuits, listening for irregular heartbeats. One of its more unsettling rhythms is the error message: “Hardware problems were detected; contact your manufacturer,” often followed by the blunt dialog “You have a memory problem.” In 2026, despite advancements in memory durability, this alert still echoes through countless Windows machines, sometimes as a genuine cry for help from failing hardware, but occasionally as a phantom warning—a false positive that emerges like a fog from a transient operating system glitch.
This diagnostic alarm rarely sounds in isolation. It frequently follows the chilling blue screen of death or a period of system freezes, suggesting that data lanes inside the RAM have become as unreliable as a cracked glass bridge. The roots of the error can be traced to a handful of culprits: a faulty memory stick, a deteriorating RAM slot on the motherboard, or even overly ambitious overclocking that strains silicon beyond its safe limits. Before reaching for a new set of modules, however, users should embrace a methodical investigation.
Clock Calibration: Taming the Overclock
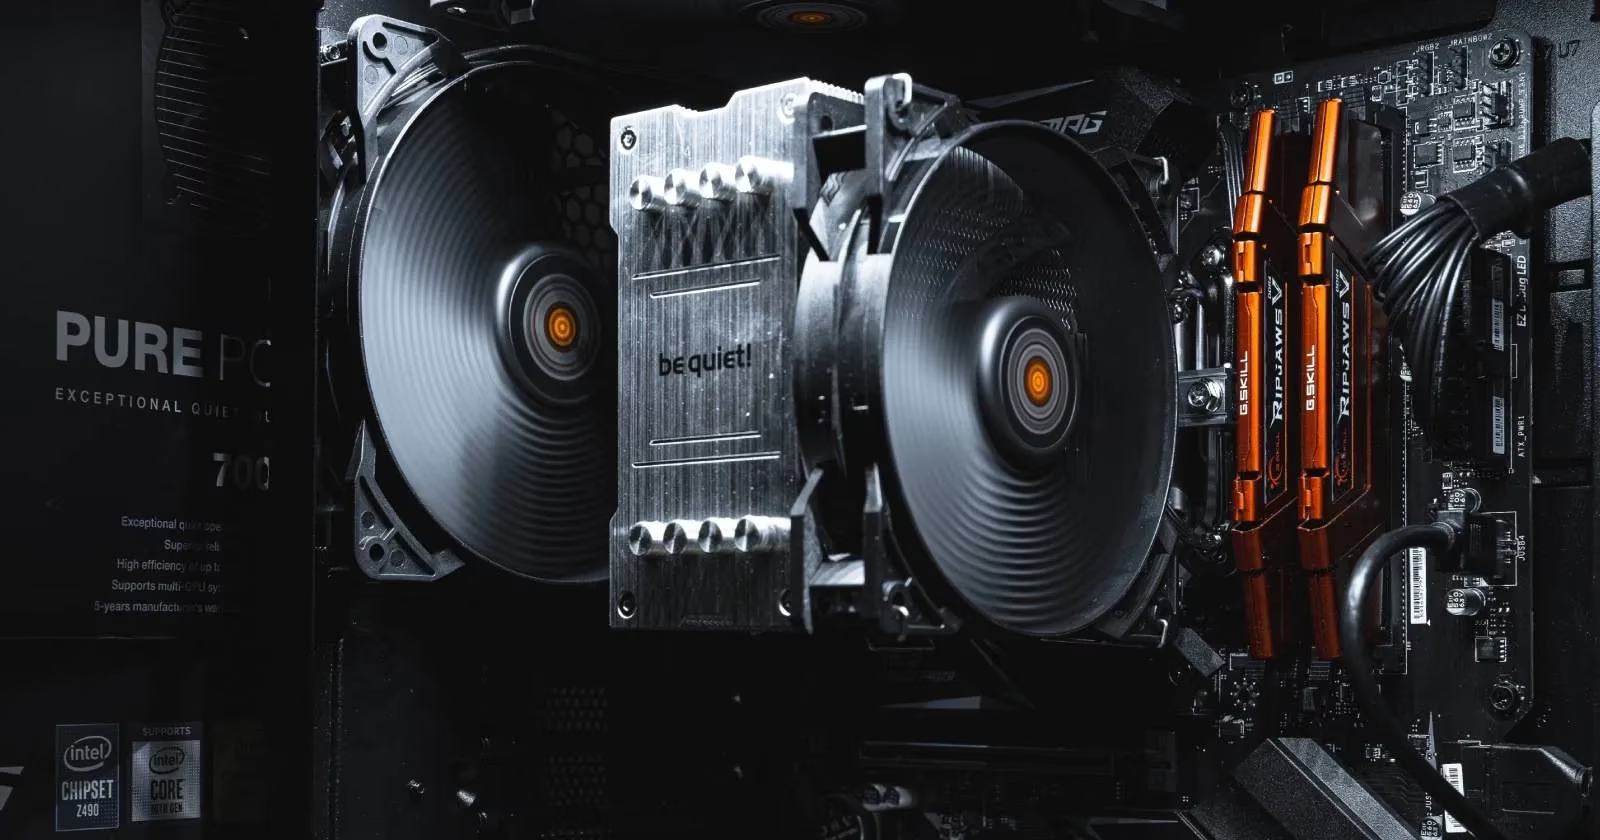
Modern performance tuning often tempts users to push memory frequencies higher, much like a driver leaning too heavily on a car’s throttle without checking the temperature gauge. Overclocked RAM can certainly yield snappier response times, but it also introduces instability that masquerades as hardware failure. The first step is to lower the memory frequencies incrementally, or if in doubt, reset the BIOS entirely to its factory defaults. Consulting the motherboard manual for the precise key combination to load optimized defaults can feel like decoding an ancient script, yet it often extinguishes the error instantly. If the default settings restore stability, then the overclock was the hidden gremlin all along.
The Legacy Hardware Troubleshooter
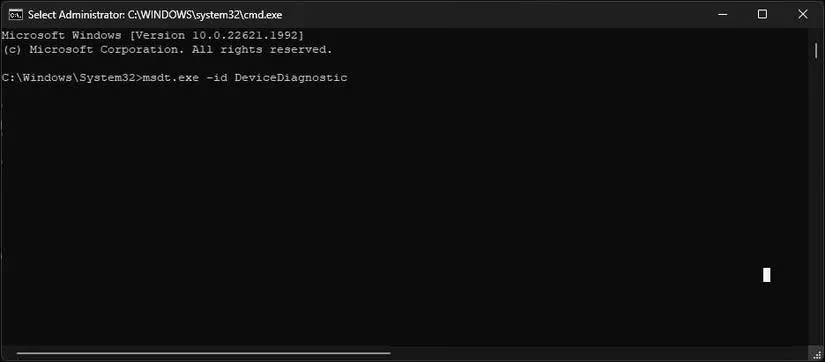
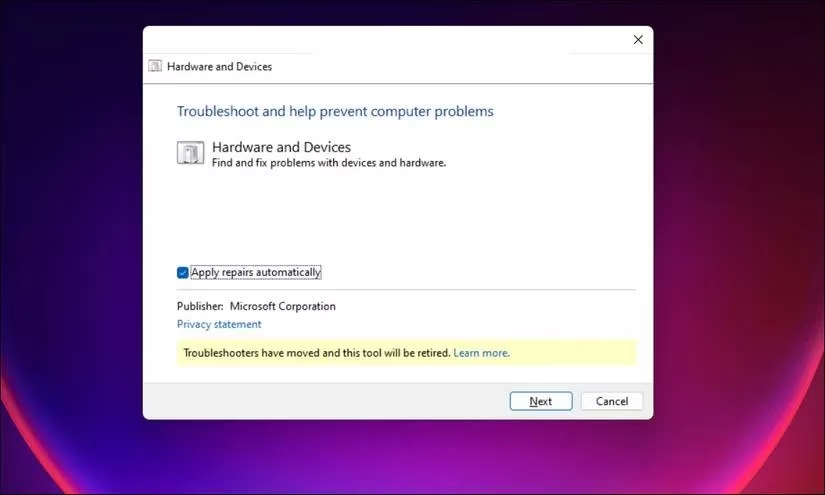
Windows still carries a built-in hardware troubleshooter—a relic from earlier eras, yet surprisingly effective when newer diagnostic tools falter. In versions of Windows 11 beyond 22H2, the troubleshooter may not appear in the Settings menu, but it can still be summoned through an administrative Command Prompt like a wise old mechanic called out of retirement. Typing msdt.exe -id DeviceDiagnostic launches the Hardware and Devices wizard, which then scans the system with the patience of an archaeologist brushing dust from ancient artifacts.
Once open, clicking “Next” allows the tool to automatically apply any repairs it deems necessary. It sifts through component interactions, identifying conflicts that might be misinterpreted as memory failure. Even if the troubleshooter homes in on an unrelated device, continuing through its list of findings can reveal cascading issues, much like untangling a ball of yarn knotted by an invisible cat. Should a memory-related problem surface, the auto-repair option can sometimes realign software-level configurations, clearing the false positive.
Hands-on Inspection: Dust, Debris, and Defective Modules
When software solutions run dry, the investigation moves to the physical realm. Multiple memory sticks should be removed, their gold contacts wiped gently with a soft, anti-static cloth to remove dust and oxidation—a process as delicate as cleaning the lens of a telescope. After reinserting a single stick and rebooting, the error’s presence or absence can act as a beacon. Cycling through each module individually transforms the testing into a survival-of-the-fittest trial, exposing the faulty one that behaves like a cracked domino in a line.
Equally important is the memory slot itself. By inserting a known-good stick into each slot and booting, a malfunctioning slot reveals itself through the same error, a process akin to testing each key on a piano to find the one that produces only silence. Repairing a damaged slot is a intricate endeavor, as it often requires soldering skills and a donor motherboard—frequently a more expensive undertaking than a full motherboard replacement. If that route is impractical, continuing to use the system while avoiding the dead slot remains a viable, if performance-sapped, compromise.
MemTest86+: Deep-Circuit Diagnosis
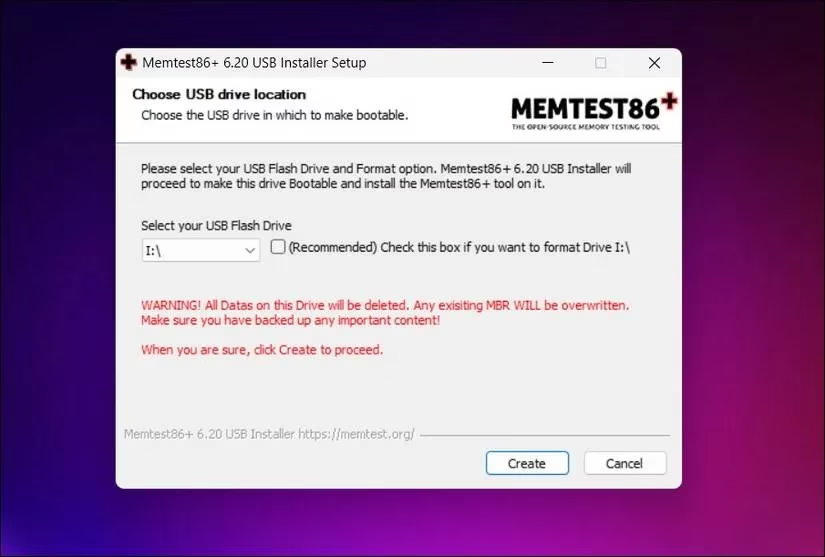
When the Windows Memory Diagnostic still waves a red flag despite earlier checks, a deeper forensic tool enters the scene. MemTest86+ is an open-source bootable utility that subjects RAM to a grueling sequence of pattern tests, scanning every bit like a proofreader examining a manuscript for typos. It requires a USB drive and a brief journey outside the familiar Windows environment. As of 2026, many motherboards still ship with Secure Boot enabled by default, which can block MemTest86+ from executing. Disabling Secure Boot temporarily becomes a necessary detour, though one should remember to re-enable it afterward.
After booting from the prepared drive, MemTest86+ launches an unceasing barrage of read/write cycles. Letting it complete at least two full passes—each pass a marathon through billions of memory cells—can flush out intermittent failures that casual tests miss. The screen becomes a tapestry of hexadecimal patterns and pass counts; if even a single cell falters, the tool marks it in red, much like a stain on a forensic report.
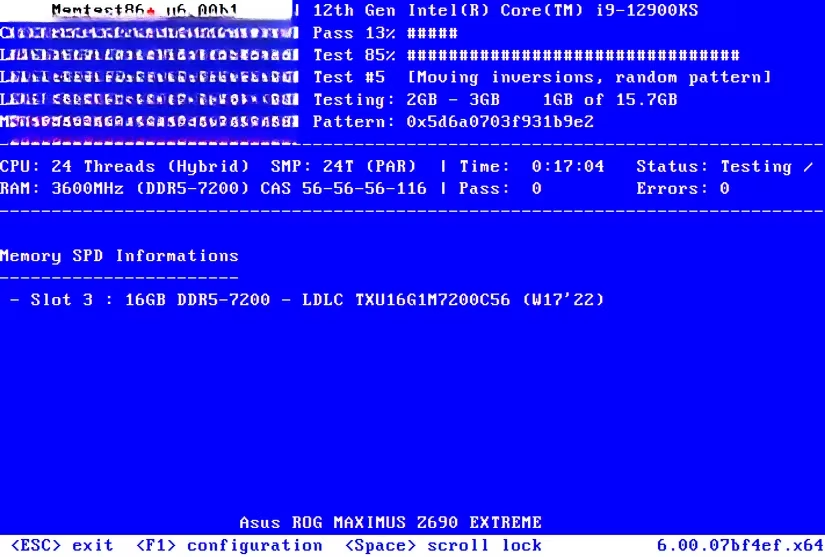
A clean bill of health from MemTest86+ yet a persistent Windows error suggests that the operating system’s own files may have become corrupted, perhaps during a crash that initially triggered the diagnostic. In such cases, a repair install of Windows 11—which preserves personal files and applications—can be as restorative as a software transplant. Should that fail, a clean installation scrubs the system down to its digital foundation, eliminating any hidden errors in the system image. Before undertaking a clean install, safeguarding personal data on an external drive is not just recommended; it is as essential as checking a parachute before a jump.
A Symphony of Diagnostics
Resolving the “Hardware problems were detected” error is rarely a one-step affair. It demands a blend of patience, methodical testing, and a willingness to listen to what the machine is truly saying. Whether the culprit is an overzealous overclock, a whisper of dust in a slot, a fading memory module, or a ghost in the operating system, the toolkit at a user’s disposal—from the legacy hardware troubleshooter to the unforgiving scrutiny of MemTest86+—turns chaos into clarity. By following this layered path, the average user can often avoid unnecessary hardware purchases and restore the smooth, reliable performance that modern computing demands.