Hey fellow gamers and PC enthusiasts! Let's talk about one of the most overlooked yet crucial components on our beloved motherboards. I'm talking about that tiny, coin-shaped battery nestled somewhere near the PCIe slots or the chipset heatsink. For years, I didn't give it much thought until my trusty gaming rig started acting up—the system time was constantly wrong, and I was getting strange boot errors. That's when I dove deep into understanding the CMOS battery, and let me tell you, this little powerhouse is more important than most people realize.
So, what exactly is this thing doing? The CMOS (Complementary Metal Oxide Semiconductor) is a special chip on your motherboard that acts as a tiny, persistent memory bank. It stores all the essential BIOS (or UEFI, which is the modern equivalent) configuration data. Think of it as your PC's long-term memory for its most basic settings. Since the BIOS/UEFI needs to spring into action before your operating system even gets a chance to boot up, it can't rely on your SSD or hard drive for this info. That's where the CMOS chip comes in, and it needs constant power to retain its memory. Enter the CMOS battery! 🪫
This battery, typically a common CR2032 (though sometimes a CR2025), provides a steady trickle of power to that CMOS chip. It ensures your motherboard remembers:
-
System Date and Time: Ever wonder how your PC knows the correct time even after being unplugged for weeks? Thank the CMOS battery! ⏰
-
Hardware Settings: This includes crucial configurations like boot priority (which drive to check first for an OS), CPU voltages, memory timings (XMP/EXPO profiles!), and chipset settings.
-
Hardware Inventory: It keeps a basic log of what's installed in your system.
Every single time you press that power button, the BIOS/UEFI consults the data on the CMOS chip to understand how to initialize your hardware. If you make any changes in the BIOS—like enabling Resizable BAR for better GPU performance or tweaking fan curves—it's the CMOS chip that gets updated to save those new settings, all powered by that little battery.
Now, you might be thinking, "But my high-end gaming laptop must be different, right?" Well, yes and no. Absolutely, your laptop has a CMOS battery too! However, due to the intense space constraints inside modern, slim laptops, manufacturers often get creative. They might use a smaller, custom-shaped battery tucked away on the backside of the motherboard, or in some cases with sealed units, they might even use a tiny soldered-on cell or leverage the main laptop battery's power through a dedicated circuit. The bottom line? While desktop CMOS batteries are user-replaceable, laptop ones are often designed to last the machine's entire lifespan and can be a real pain to swap—sometimes requiring a full disassembly. So, if you're a laptop gamer, you can usually breathe easy and not worry about it.
So, how do you know when this vital component is giving up the ghost? After all, these batteries do have a finite lifespan, usually around 5 to 10 years. Here are the classic symptoms I experienced and you should watch for:
-
Consistently Incorrect System Time & Date: This is the #1 telltale sign. You boot up, and Windows says it's January 1, 2002, or some other random date. 🗓️
-
Boot-Time Errors: Your PC might pause during POST and display cryptic messages like:
-
CMOS Battery Failure -
CMOS Checksum Error -
ACPI BIOS Error -
CMOS Read Error
-
-
"New CPU Installed" Message: This one can be confusing and a bit alarming! If the CMOS battery is dead, the chip loses all memory, including what CPU you have. So on the next boot, the motherboard thinks you've just installed a brand new processor.
-
BIOS/UEFI Settings Reset: All your carefully tuned overclocks, custom fan profiles, and boot order preferences get wiped back to factory defaults. 😫
-
Failure to Boot: In severe cases, especially with older motherboards, a completely dead CMOS battery can prevent the system from booting at all, as it can't retrieve the basic instructions needed to start.
It's worth noting that in 2026, many modern motherboards have gotten smarter. They often store the most critical BIOS/UEFI code and default settings in non-volatile memory (like a small SPI flash chip), so a dead CMOS battery might only mess up your time and reset custom settings, rather than bricking the board entirely. But why take the chance?
Alright, let's get to the practical part. Replacing the CMOS battery in a desktop PC is one of the easiest pieces of maintenance you can do. Here’s my step-by-step guide for a safe swap:
Step 1: Power Down & Prep
-
Shut down your Windows operating system completely.
-
Crucially, flip the switch on the back of your power supply unit (PSU) to "0" or "Off" and unplug the power cord from the wall. This eliminates any risk of electrical shock or short circuits.
-
Press the PC's power button a couple of times to discharge any remaining capacitor charge.
-
Ground yourself by touching a metal part of the case to prevent static electricity from damaging sensitive components.
Step 2: Locate and Remove the Old Battery
-
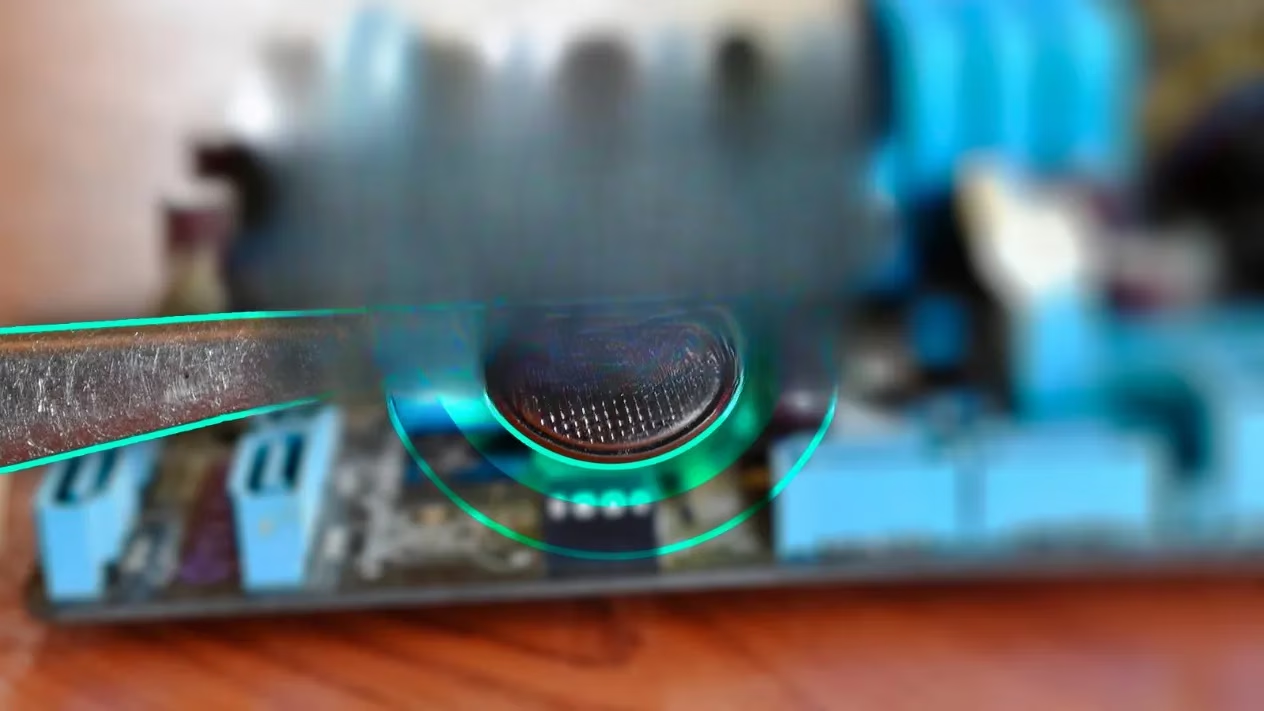
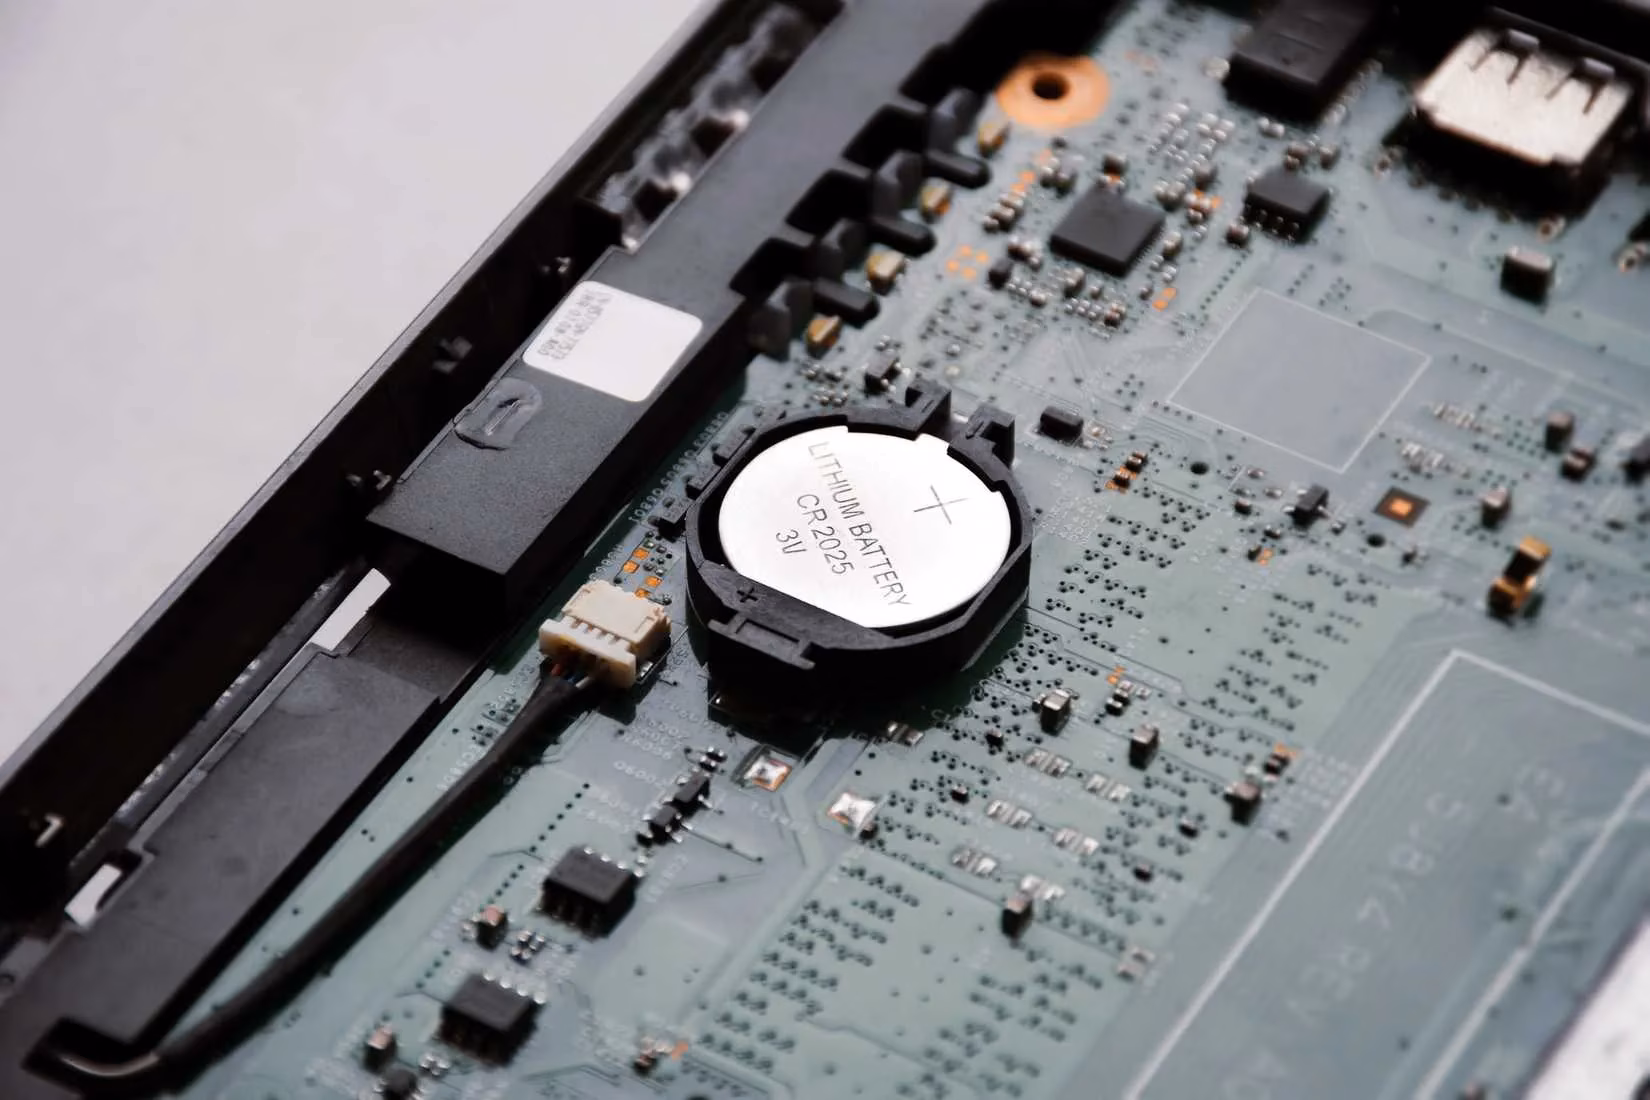
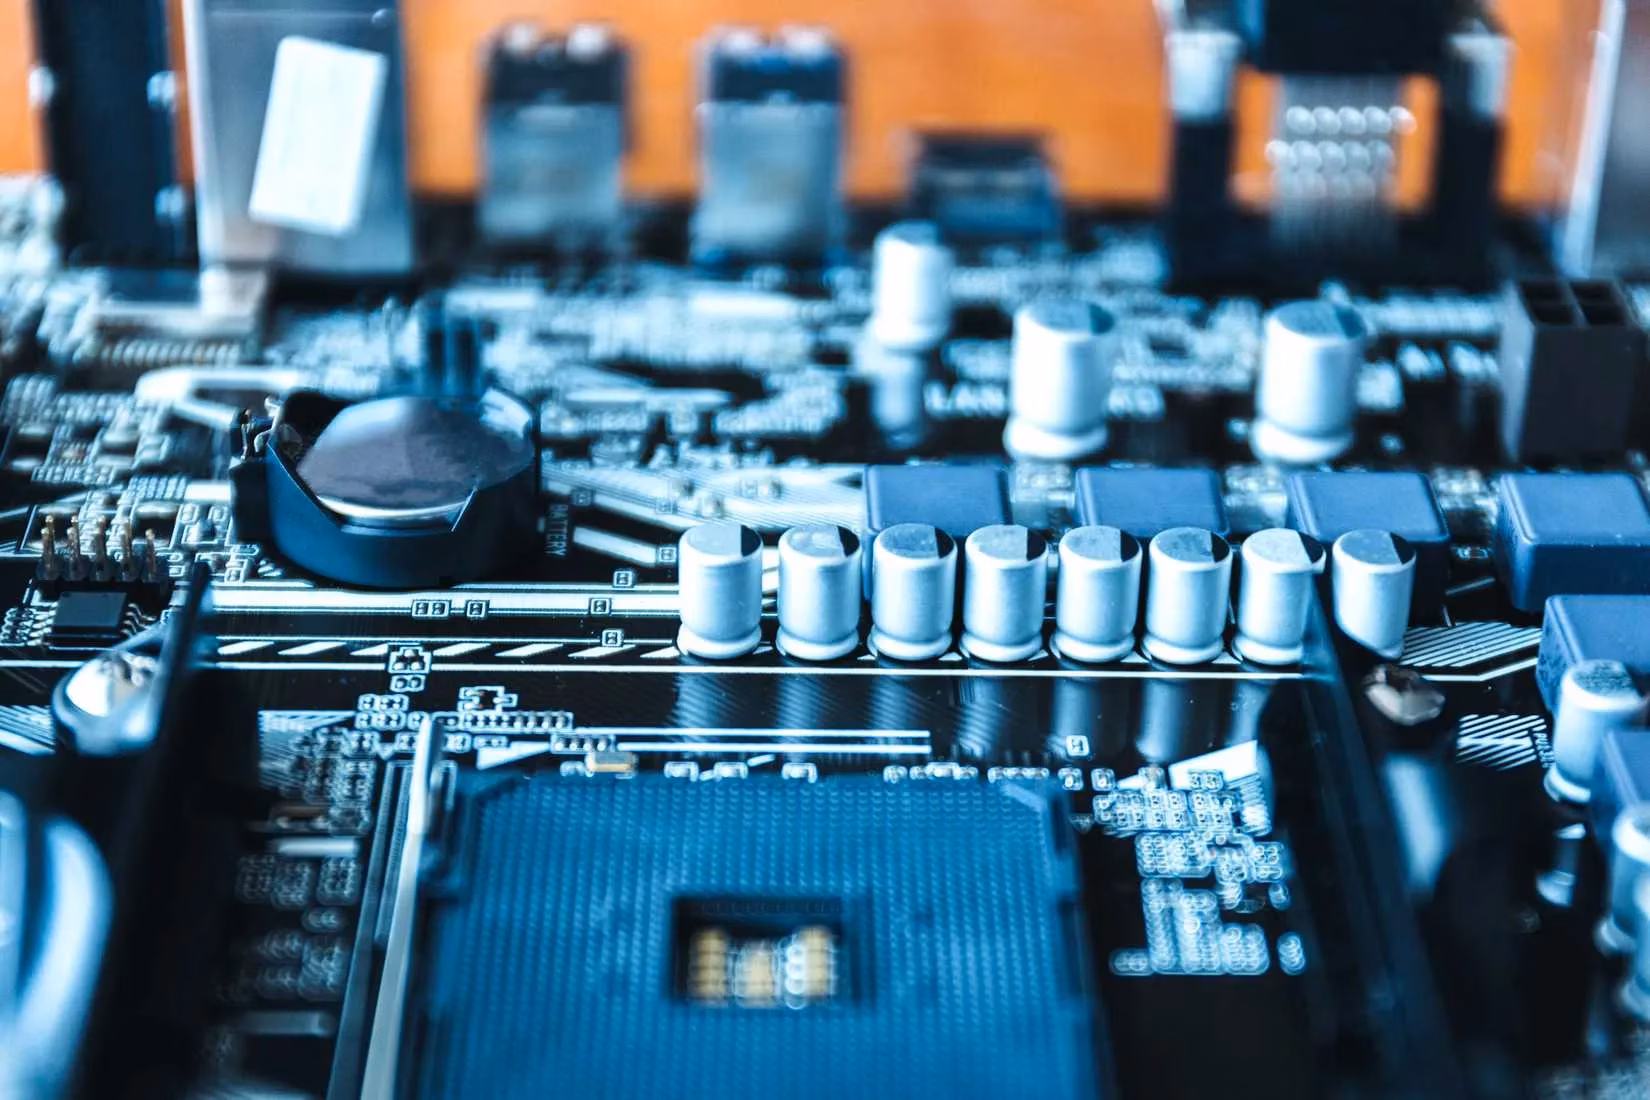
Open your PC case. The CMOS battery is usually a shiny, silver coin cell held in a plastic clip on the motherboard. Common spots are near the bottom PCIe slots or the large 24-pin power connector.
-
Take a quick phone photo of the battery's orientation (which side is facing up) before you remove it. This is a great habit for any hardware work!
-
Gently push the small metal clip holding the battery to the side. The battery should pop up, allowing you to lift it out.
Step 3: Install the New Battery & Reassemble
-
Get a fresh CR2032 battery (double-check your motherboard manual if unsure—99% of the time it's this model).
-
Insert the new battery into the clip with the correct orientation (the positive '+' side usually faces up). It should click securely into place.
-
Close up your case, reconnect the power cable, and flip the PSU switch back on.
Step 4: Post-Replacement Configuration
-
Power on your PC. You will likely be greeted with a message saying "CMOS settings cleared" or similar.
-
You'll need to enter the BIOS/UEFI setup (usually by pressing Del, F2, or F12 during boot).
-
First, navigate to the exit menu and select "Load Optimized Defaults" or "Load Setup Defaults." This gives you a clean slate.
-
Then, go through and reconfigure your essential settings:
-
Set the correct Date and Time.
-
Re-enable your XMP or EXPO profile for your RAM to run at its advertised speed.
-
Adjust your Boot Priority to make sure your primary SSD/HDD is first.
-
Re-apply any other custom settings like fan curves or virtualization features.
-
-
Save and Exit (usually F10). Your PC will reboot with the new battery happily preserving your settings!
One more pro-tip from my years of tinkering: Removing the CMOS battery for a minute is also a universal "hard reset" for your BIOS/UEFI. If you're dealing with unstable overclocks, forgotten BIOS passwords (on older systems), or weird boot issues, this is often the first troubleshooting step. It's like giving your motherboard's firmware a fresh start.
So there you have it! That unassuming little battery is the guardian of your system's fundamental identity. It's a small, cheap component that plays a massive role in your PC's stability and functionality. While you might not think about it for years at a time, knowing what it does and how to handle its eventual failure is a key piece of knowledge for any PC builder or gamer. Keep an eye on your system clock, and you'll always know when it's time to show your CMOS battery some love! 🔋✨