In the quiet hum of anticipation, a first-time builder approaches the scattered components, each piece a promise of power and potential. Yet, beneath the surface lies a journey fraught with pitfalls, where small oversights can halt the symphony of booting lights and spinning fans. This odyssey, filled with lessons etched in frustration and triumph, transforms novices into seasoned artisans. The allure of crafting a custom machine outweighs pre-built convenience, but it demands a dance of precision, where every mistake becomes a stepping stone to mastery. From cheap power supplies to misplaced thermal paste, the path is riddled with avoidable errors, each a testament to the delicate balance between human ingenuity and technological demands. Here lies the heart of the build—a story of resilience, where the final boot screen brings unparalleled satisfaction, whispering of control and quality hard-earned.
The Perils of Skimping on Power
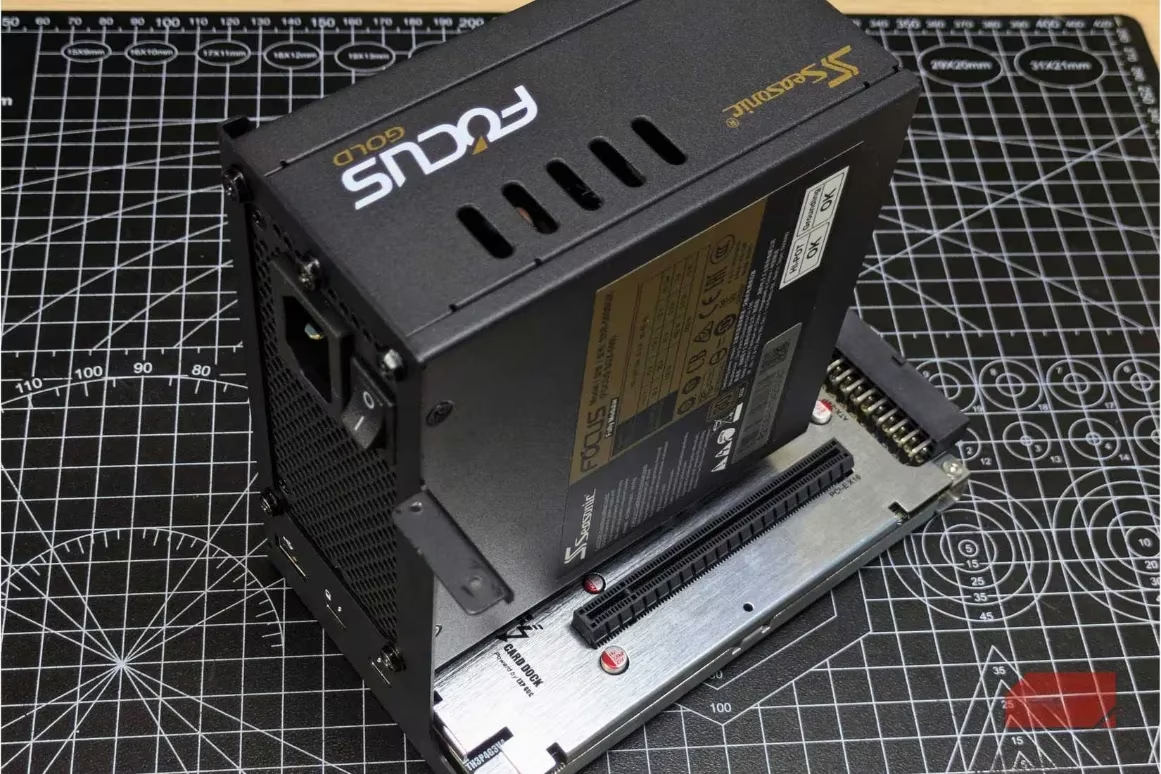
Among the gravest errors, choosing a low-cost power supply unit (PSU) ranks high, as discovered through bitter experience. A lesser-known 600W unit seemed a bargain for a demanding GPU and CPU combo, yet within months, random shutdowns plagued the system, even under light loads, tracing back to the failing PSU. This component powers every part of the rig; a failure risks cascading damage to other precious elements. To safeguard against such woes, opt for reputable brands like Corsair, EVGA, or Seasonic, and always exceed estimated wattage needs by at least 20%. As the foundation of stability, a robust PSU ensures longevity, echoing the wisdom that investing in quality pays dividends over time.
Compatibility Checks: BIOS and Beyond
Ignoring motherboard compatibility can lead to heart-wrenching stalls. A B450 board, for instance, refused to boot with a modern Ryzen 5000 chip without a prior BIOS update. Without a BIOS Flashback feature or an older processor for borrowing, the solution required a trip to a local shop—a delay easily avoided. Before assembly, verify that the motherboard's BIOS supports the CPU out of the box. This simple step, often overlooked in the rush, prevents hours of troubleshooting. Additionally, for smoother workflows, install critical parts like the CPU, RAM, and NVMe drive outside the case first. This approach eliminates cramped spaces, allowing fingers to dance freely, catching errors early before cables tangle and mounts finalize.
Assembly Order and Physical Safeguards
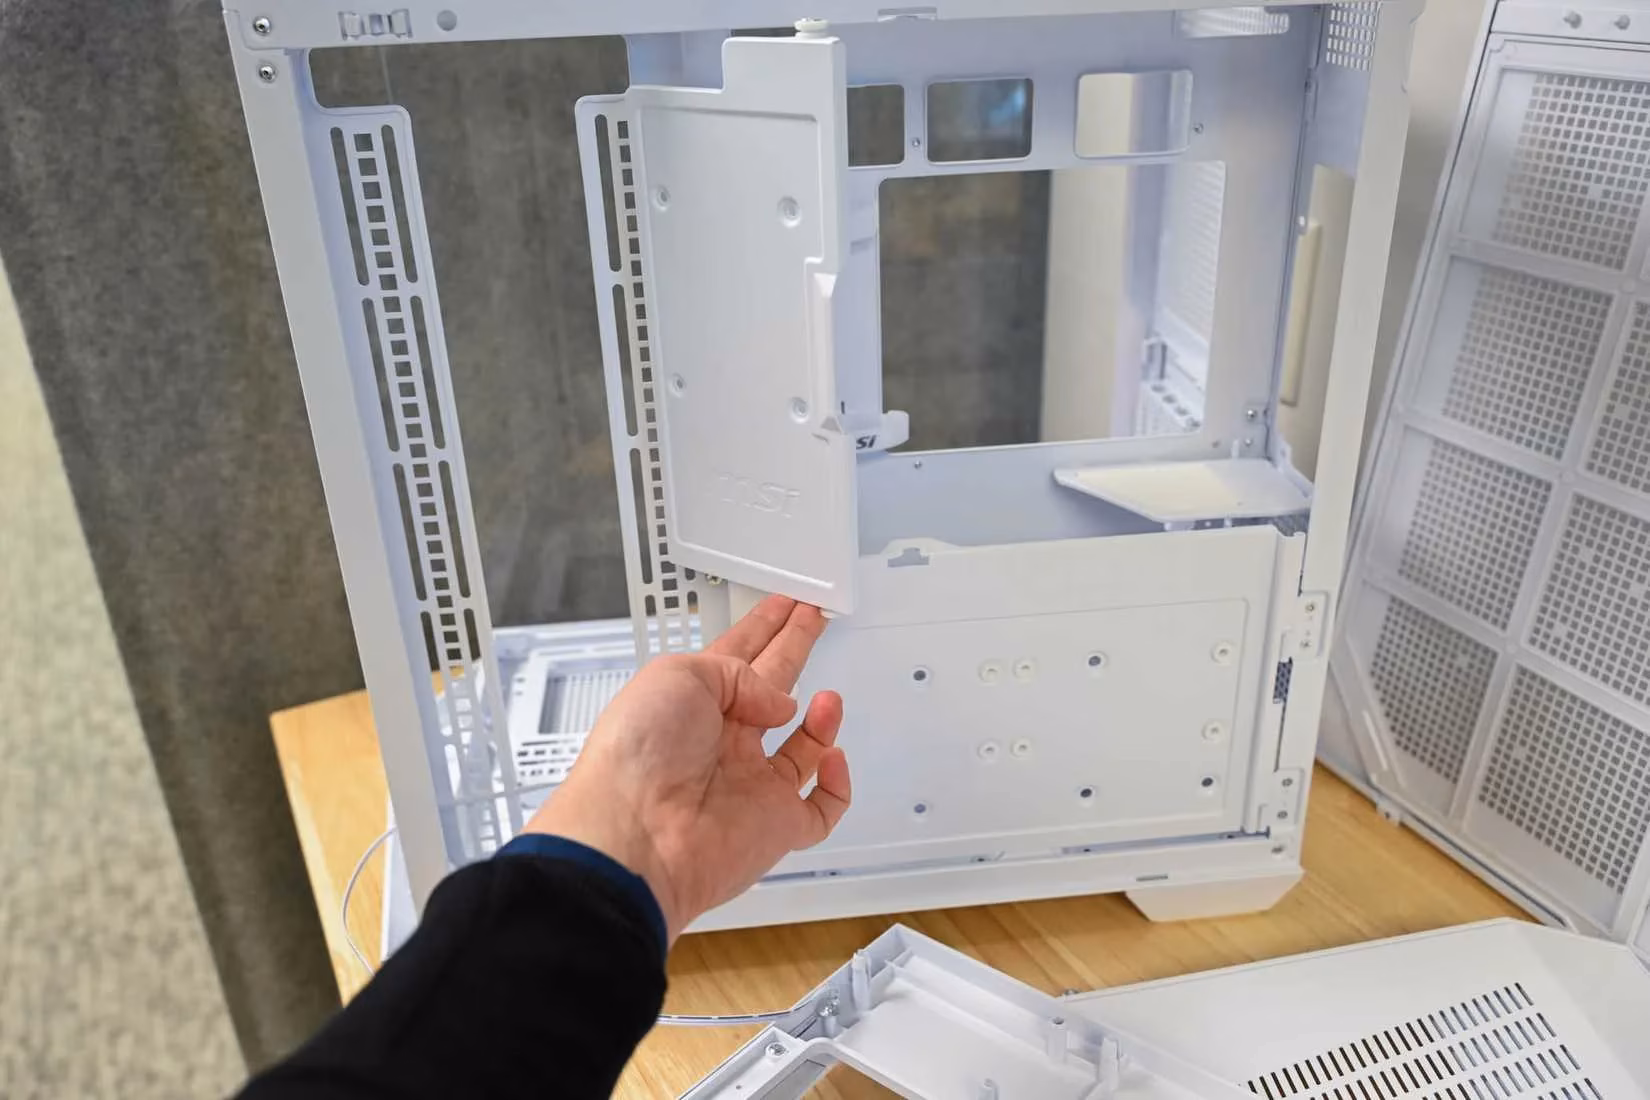
The sequence of installation proves crucial, turning chaos into harmony. Begin with the CPU, followed by the M.2 drive, then RAM, and finally the cooler base. Some cooler backplates obstruct M.2 slots, forcing disassembly—a messy ordeal best sidestepped. Physical protections like the I/O shield and motherboard standoffs are non-negotiable; the shield grounds ports and repels dust, while standoffs, those small brass sentinels, prevent electrical shorts by lifting the board. Always count mounting holes and install matching standoffs, pressing firmly until tabs click. 🛠️ Here’s a quick reference for installation order:
-
Step 1: CPU placement (align gold triangle with socket)
-
Step 2: M.2 drive insertion
-
Step 3: RAM seating (use slots 2 and 4 for dual-channel boost)
-
Step 4: Cooler base attachment
Handling these with care avoids cuts and ensures a stable foundation, transforming anxiety into confidence.
Cooling and Thermal Management Mishaps
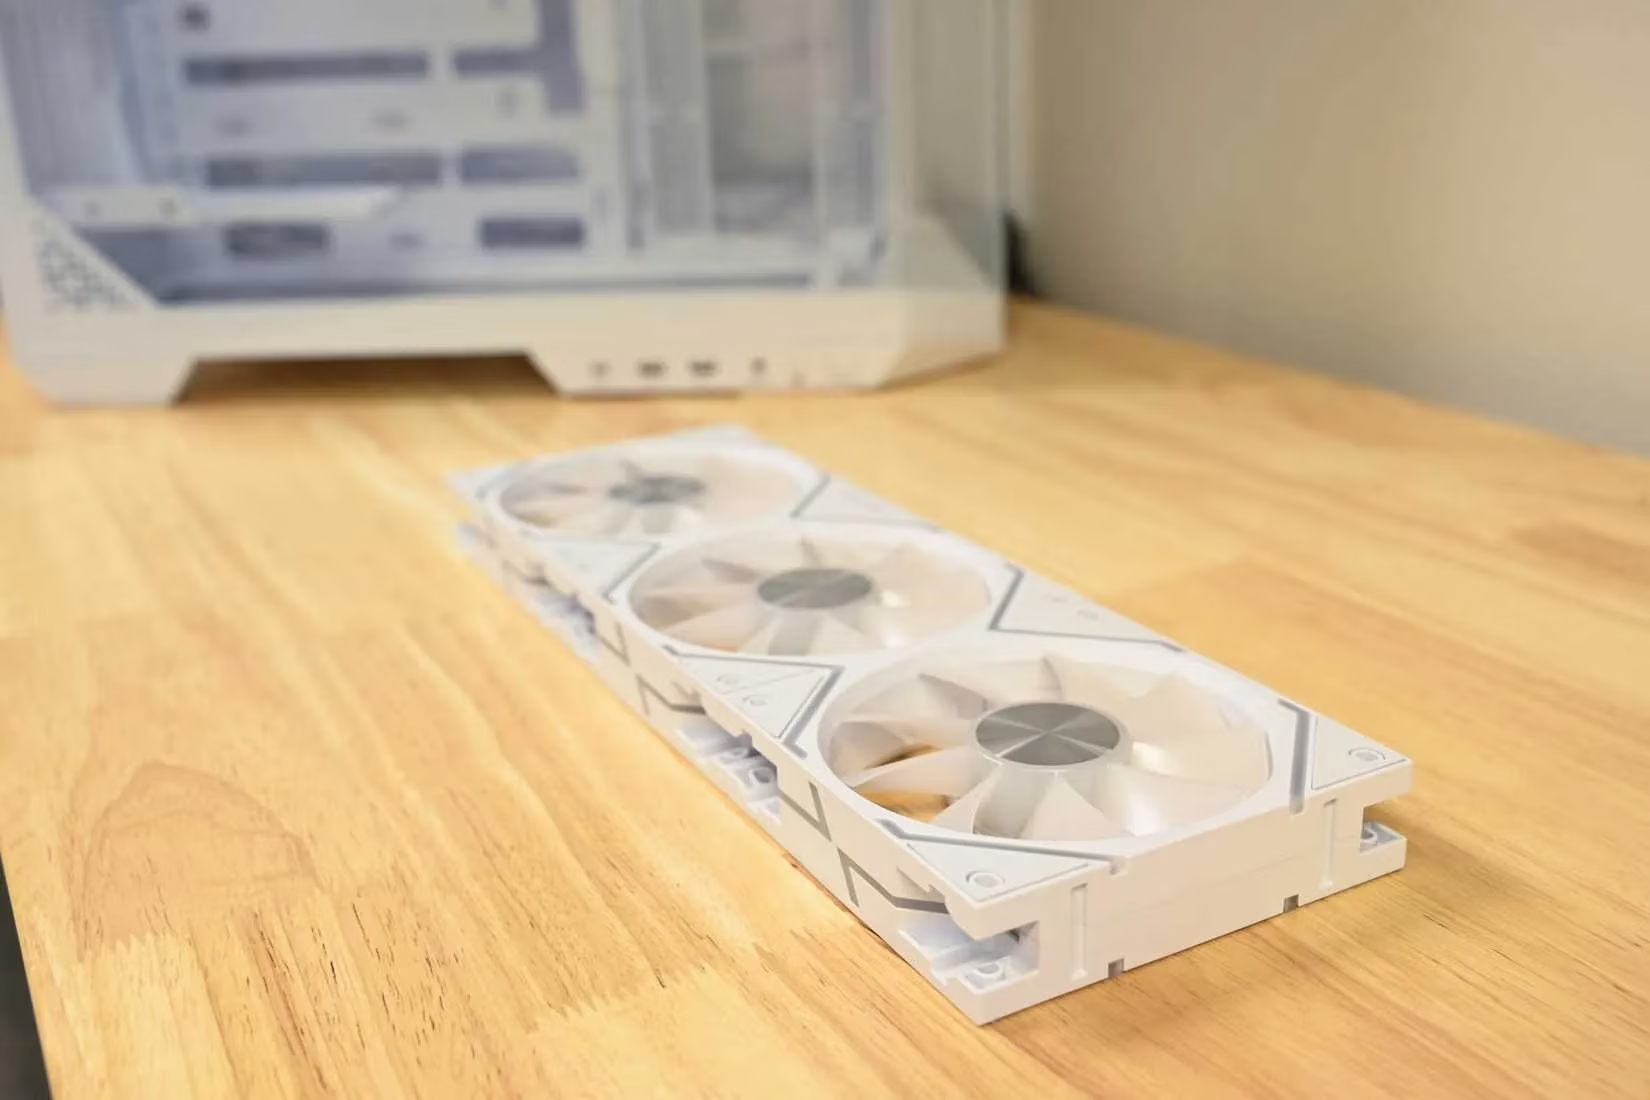
Fan direction and thermal paste application often trip up beginners. Installing all fans backward, mistaking the logo side for intake, disrupts airflow dynamics. Proper cooling requires:
-
Front and bottom fans pulling cool air in
-
Top and rear fans pushing hot air out
This creates positive pressure, reducing dust buildup. For cases with only two fan slots, one intake at the front and one exhaust at the rear suffices. Thermal paste, applied excessively, insulates instead of conducting heat. A mere pea-sized dot in the CPU’s center suffices, spreading perfectly under cooler pressure. Always remove the plastic film from the cooler’s base—a tiny lapse that can spike temperatures. 😓
CPU and RAM Installation Nuances
Nerve-wracking moments arise when handling the CPU, its pins appearing achingly fragile. Yet, aligning the gold triangle with the socket’s marker allows it to drop in smoothly, no force needed. RAM installation follows, demanding firm downward pressure until clips click. If one end resists, stop and realign—never force it. Slot selection matters: for dual-channel performance, place sticks in slots two and four, as color-coded guides suggest. Misplacement boots the system but squanders potential bandwidth, a subtle loss in an otherwise vibrant machine.

Power Connections and Final Checks
Newcomers often confuse power connectors, risking damage. PCIe cables and CPU sockets look similar but differ in keying; consulting the motherboard manual clarifies every connection, including cryptic front panel pins. Before sealing the case, a swift checklist averts despair:
-
Confirm monitor cable links to the graphics card, not motherboard
-
Ensure PSU switch is on
-
Verify RAM is fully seated
| Common Pre-Build vs. Custom Build Trade-offs | |--------------------------------------------------|-------------------------------------------| | Aspect | Custom Build | Pre-built | | Component Quality | Hand-picked, high-performance parts | Often cut corners (e.g., cheap PSU) | | Warranty | Individual part coverage (min 1 year) | Single system warranty (often 1 year) | | Cost Efficiency | Savings via sales, value up to $500 more | Overpriced for equivalent specs | | Technical Demand | Requires knowledge, troubleshooting skills| Plug-and-play simplicity |
This two-minute ritual saves hours, embodying the adage that patience is the builder’s truest tool. For those daunted, PC kits offer guided starts, but piece-by-piece assembly fosters deeper learning. Ultimately, custom builds grant unparalleled satisfaction, with every component a chosen ally, outweighing pre-built limitations. 💻✨
In the end, the journey is one of empowerment. Armed with a Phillips screwdriver, zip ties, and perseverance, builders navigate errors to emerge victorious. The BIOS screen’s glow is not just a start—it’s a declaration of independence from pre-built constraints. For gamers, enthusiasts, and lifelong learners, the rewards of control, performance, and personal pride render every stumble worthwhile, echoing through the silent whir of a self-made masterpiece.